Ready to start a podcast but not sure what's all involved?
In this post you'll learn get a clear overview that reveals how to publish a podcast.
We'll talk about using a good hosting platform, podcast directories and much more.
If you want video tutorials that show step by step how to book guests, how to script and record, how to edit and publish in detail, click here and get the course I'm personally studying to grow my podcast.
If you just want the broad overview, let's jump in!
Step 1: Get Your Audio Recorded
You can do this in a number of different ways. Since I create all of my podcasts from YouTube videos, I actually use a site called ‘SaveFrom.net.’
This is a simple downloader that you can use to download YouTube videos to your computer.
Now, this tool will only let you download the video as an MP4. So then, you can go in and use VLC Media Player to convert the file to an MP3 and save it that way.
Here's the good news...
These are both free programs, so it doesn’t cost anything.
If you are recording your videos directly to audio and are not recording a video first, then you obviously won’t have to bother with ripping the audio off of a video.
There are two easy ways to get started with recording your audio. It could be as simple as recording a podcast on your smartphone, or you could buy a microphone, download audio software, and record the audio straight to your computer.
Speed vs quality...
A smartphone is faster, but recording to your computer will probably result in better-quality audio. Either method can work though, especially at first!
Gear For Your Podcast
If you want to publish via your smartphone, you will need…
- A recording app
- A pair of headphones
- Recommended upgrade is this lavalier mic for smartphones
And that is about it! For the recording app, you can use an app called Voice Recorder HD. This app is available on Apple and Android phones, and is very popular for recording podcasts on a smartphone.
For headphones, anything will work… as long as you can hear yourself.
But about your phone...
If you DO record your podcast on a phone, you will also need to upload the file to your computer for editing. You can use Dropbox for this, or you can plug your phone directly into your computer and upload it that way.
If you plan to record using your computer, then you will need…
- A USB Mic
- Recording Software
- Headphones
There are plenty of USB microphones out there that you can use for this. If you Google ‘USB Mic for Podcasting,’ you will come up with all kinds of options, this is the one I started with.
Other Considerations
As for software, we will talk more about that in a moment… but for most new podcasters, you can download Audacity.
It is free, it is easy to use, and it will do everything you need to get started. You can even create your intro and outro with Audacity. New podcasters will find this especially useful, well get into that more later.
There is a bit of a learning curve with it. But with a bit of practice, you should be good to go to record and edit your podcast files, regardless of whether you recorded it on your phone or on your computer.
Either way, you will need to end up with a MP3 audio files that you can use to start the audio process.
Next, we move on to editing.
Step 2: Create An Intro And An Outro
If you listen to many podcasts, you will quickly realize that most podcasters have specially designed intros and outros for their podcast shows.
These are usually 10 to 15 seconds long, and may combine elements like music, a vocal introduction, some cool sound effects, etc.
The Beginning & The End
There are two main goals with intro and outro audio files.
- They provide common-theme segways into and out-of your podcast episodes...
- They help to brand your podcasts and make them recognizable to listeners for you the podcast host!
You can easily create your intros and outros yourself by using free sounds and music-clips from sites like freesound.org, recording your own voice, and editing it all together.
Then, just save them as MP3 clips to edit onto your podcast files audio. You can tag them onto the beginning and end of every podcast.
So listen to some podcasts, gain some inspiration from what other people are doing for intros and outros, and start designing your own to go along with your recorded podcast audio!
Step 3: Edit And Save Your Audio
My wife and I have been using Mixcraft to edit our audio for years. This is a paid tool, though there are also programs like ‘Audacity,’ which are free to use.
Keep in mind that editing audio requires some knowledge and practice. But at the end of the day, the goal of this process is to prepare the audio to publish as a podcast.
At this stage, you will want to import 3 pieces of audio into your audio editor for your new episode.
You will need…
- Your Intro
- Your outro
- The audio that you recorded (or ripped off of your own YouTube video) that will serve as the main body of audio for your podcast
Now that you have all three of these vital components loaded into your audio editor, it is time to start editing.
You'll want your intro at the beginning, the podcast in the middle, and the outro at the end - plain and simple. Just make sure it all sounds smooth together. Established podcast directories like to have a quality finished product. Apple podcasts are especially this way.
Save It As A WAV File
As soon as you get done editing your podcast in the audio editor, save it as a WAV file. This is a bigger file than an MP3, but there is a reason for why you want to do this.
Level Your Audio Highs and Lows
You can use a free tool called ‘The Levelator 2’ for this next phase of the process.
What this tool does is it levels out all of the audio throughout the track. So, if one part of your WAV file is really loud, and another is really quiet, this tool will automatically balance out those levels to make them all sound awesome and equal with one-another.
It's all about consistency...
You want consistency. You don't want one episode to suddenly be louder than your new episode. Think of popular Apple podcasts - they all have a certain consistency to them.
And the only type of file that the Levelator will accept is a WAV file. You cannot use MP3s with this tool, which is why you will want to save the podcast as a WAV file first if you plan to use it.
Take The Newly Leveled Audio File And Open It Back Up In Your Audio Editor
When you open the file back up in your audio editor, you should see that all of the levels are nice and even.
Give it a quick listen, just to make sure that it doesn’t need any last-minute changes. Then, export it as an MP3.
Export The Audio As An MP3
This part is actually pretty important if you plan to upload your MP3 audio to any hosting platforms that has bandwidth restrictions.
In other words, some platforms charge you more if your files are larger. So at this stage of the process, you may want to make your MP3s as small as possible. You want audio files small for podcasting, but not so small it has poor and "slurry" quality - which would naturally look bad for you the host.
More About Smaller Files
But on the other side... Smaller MP3s also help the user on their end of the experience, in a number of different ways.
- It helps reduce download times
- It helps to minimize bandwidth so that the user doesn't blow through data while listening to it
- It reduces the odds of buffering during playback, and also eliminates long download times
- It also just makes the audio file easier to handle in-general, thanks to its smaller size
This can usually be adjusted in your settings as you are getting ready to save the WAV file as an MP3. I usually shoot for the 96 kbps option, as this gives you a small file, but still good enough sound quality that people won’t really notice that it has been compressed.
Keep This In Mind
Again, you'll have to find the balance here. Don't publish anything that could detract from your brand and you as the host.
Step 4: Add Tags
At this point, the actual podcast audio file is complete. Now, you want to go in and add tags.
For this, you can use a free tool called https://www.mp3tag.de/en/.
This will help you add ‘tags’ to the actual MP3 file. You want to add tags for the artist, add an image, add a title, etc.
Make it look nice for the listener...
And what this basically does is it helps it to look normal when playing on someone’s phone.
It will have a nice big image that shows up. It will display the title of the episode and the artist’s name as usual, etc. These metatags will live right on the audio file, so no matter what device plays the downloaded file, they will still show up.
Keep It Professional
Essentially, you want your overall podcast files to look professional and normal so that it will create an even better user experience on the listener's end!
So to do this, you will want to open the ‘MP3 Tag’ tool and find your completed MP3 file on your computer.
Then you just click on the file, and fill out all of the tag information you want to fill out. It is super, super simple!
List Of Tags For Your Podcast
You will want to add the following tags to all of your podcast episodes…
- Title: Title of the episode
- Artist: Your name
- Album: The name of your podcast
- Year: The year the episode was made
- Genre: Speech
- Album artist: Your name
- Composer: Your name
- Image: Add a customized 3,000 x 3,000 pixel image here to serve as the cover of the episode. This is actually a very important part of the process!
Once you get all of this filled out, you can just save it… and you will now have it all tagged!
This Podcast Episode Is Now Complete
Once you get to this point, your podcast episode will be complete and ready for uploading to the different platforms you will be using.
Next, you must ask yourself a very, very important question.
Where do you go from here? Where do you go to get your podcast uploaded and heard by people?
Let’s talk about that next.
Step 5: Choose Podcast Hosting

This is a very important choice that you need to take pretty seriously when starting a podcast. There are so many different podcast hosting platforms available to upload your podcast to.
You can also upload it to multiple platforms, of course. But what is the best way to get started with podcasting?
Easy. You need to choose a host. A host is simply where you will store the MP3 file that you’ve just created to be your podcast episode.
But what's the best one?
I have been using Libsyn for quite some time now, and I really like them. You will want to pay for pro-level hosting with this platform, as it is MORE than worth it. Their basic package starts at just $5 a month, and they are super reliable.
In fact, if you use my name “Miles” when you sign up for it, you can even get the rest of the current month and the next month free of charge!
Benefits of Libsyn
There are four main reasons for why I like Libsyn.
- They have a player that embeds really neatly on my blog/website
- Their custom WordPress plugin works quite well
- They offer a ton of awesome features that make publishing my podcast super easy
- Their service is super reliable and bulletproof
- Spotify and Itunes syndication are built into the platform!
Anyway, there are a lot of options out there for podcast hosting. But I have tried a few and have stuck with Libsyn.
Real Quick About Anchor
Anchor is another podcast hosting platform/tool to consider. They will do all of the RSS feed url stuff for you. When you are ready to publish an episode all you'll have to do is click submit and it's sent out to dozens of feeds instantly.
Be aware...
The problem with anchor is that sometimes places like iTunes Apple podcasts or the Spotify hosting platform need special permissions. Each hosting platform is different but if you are looking to podcast for free just to get experience then this may be a good place to start.
Step 6: Upload Your Podcast And Optimize

Uploading your podcast to Libsyn could not be easier. You simply click the ‘upload’ button at the top of the screen, choose your file, and go with it.
At this point, if you have already filled out your tags, a lot of the metadata information will already be recorded.
But you still need to go in and fill out the ‘Additional Tags.’ You will also need to fill out the description.
Podcast Optimization Tips
Here are some tips that will help you to optimize these things for maximum effectiveness and visibility.
- Choose additional tags that your target audience would be searching for
- Write out a brief, relevant, accurate description of what your podcast episode is about
- Make sure to include each one of your additional, episode-specific tags in your description as well
- I put links to both the relevant blog post and YouTube video in the description as well, in case my listeners want to check those out. I also link to my website.
As I link to my other content platforms, I spread my ‘web’ of visibility and influence. So everyone who sees these could potentially also follow me on YouTube, or on my blog, etc.
Have a content strategy...
And this is a huge part of the advantage of using all 3 ‘pillars’ of content marketing, and then linking them all together.
Anyway, this completes the process of uploading and optimizing your Podcast on Libsyn. Next, you want to embed this podcast into your blog, if you have one, so that your blog readers can click on the link and easily get access to it.
With your Podcast published on Libsyn, you then want to get your podcast on iTunes and launch your podcast to multiple platforms.
Step 7: Embed Your Podcast Link Into Your Blog
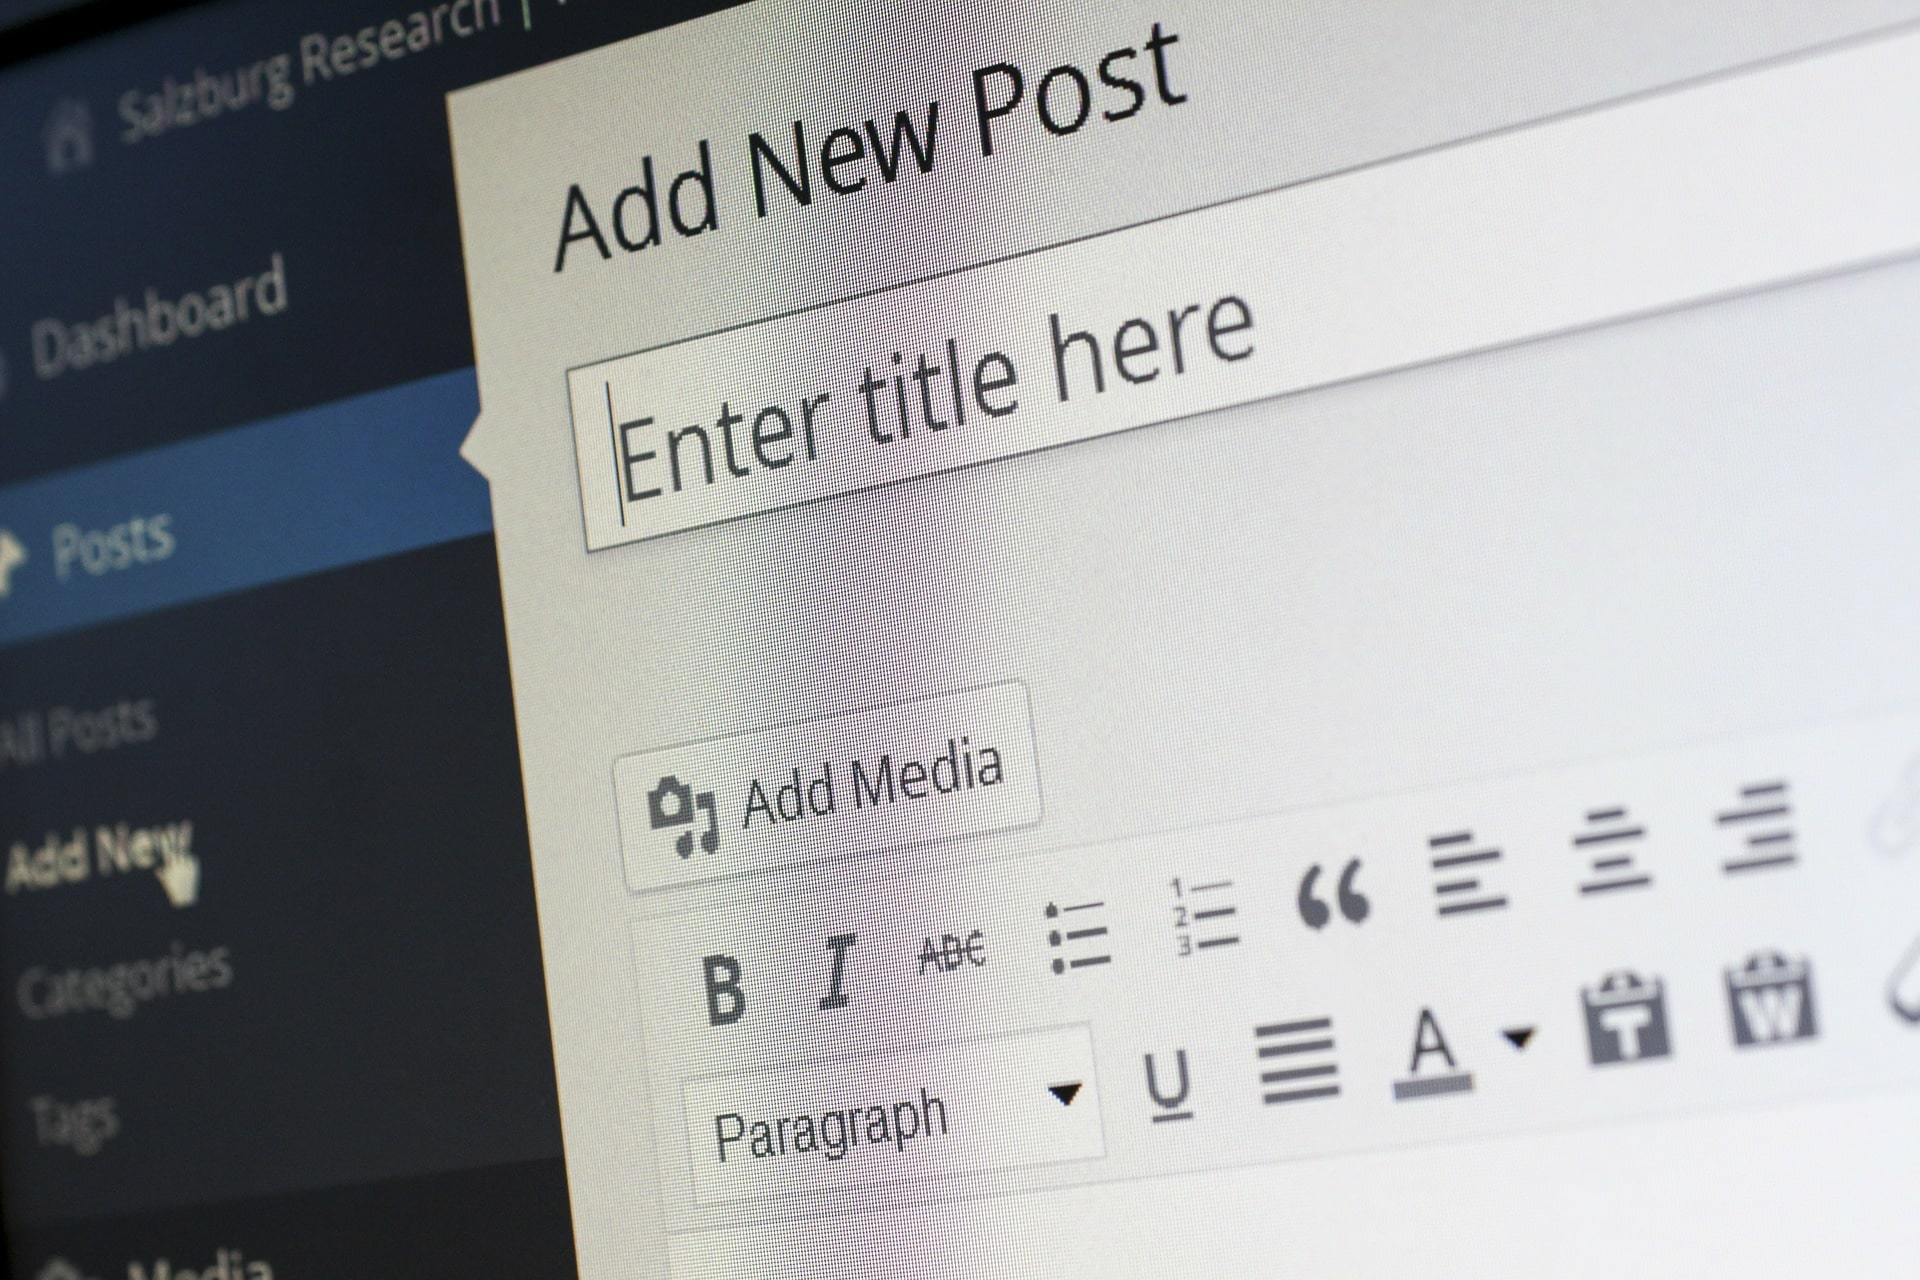
If you don’t have a blog, you may not be concerned with this step right now. But at some point, once you are making use of both of these mediums, you will certainly want to do this!
This is what will set good podcast hosts apart from poor ones. Part of podcasting is the marketing side of it. You can expect an RSS feed to do all the work for you. Podcasting done the right way will involve tons of outreach to get your name as a podcast host out there.
A good hosting platform won't really do much for your overall podcasting. That step just gets you a spot in the race.
More About Blogs
Anyways back the blog side of things for podcasting...
If you are using Libsyn... You can actually use a plugin called the “Libsyn Publisher Hub” to accomplish this step.
This WordPress plugin essentially connects your WordPress site to your Libsyn account, and offers a number of awesome features that are designed to make publishing to WordPress from Libsyn a piece of cake.
It's all connected...
Now, people who visit my blog can also follow this to listen to my podcast. This further spreads my online ‘net’ and gives me the ability to attract more viewers, build up my brand, and make a name for myself on my blog, podcast, and YouTube channel.
Libsyn also does a great job of giving you a nice-looking embed image when you put the podcast on your blog, which is awesome.
Conclusion
There's a lot to doing successful podcasting. Being a podcast host sounds wonderful because it seems like all you have to do is interview people and then have watch your iTunes numbers grow.
Just like anything else it takes hard work to push your podcast out there, but it's totally worth it once you start building a following. Remember most successful hosts have been at this game for years and years.

