Podcasts have exploded in recent years. Some podcasts have millions of subscribers and millions of downloads per episode. This is a huge market with nearly unlimited potential.
Like all digital marketing, the biggest challenge to entry is content creation. Especially if you are already creating content for other platforms.
That is why you are going to learn exactly how to take your Youtube videos and use those to create new podcast episodes.
The Pros and Cons of YouTubers and Podcasts
YouTubers have an advantage when it comes to starting a podcast, you already have a bunch of content!
There are a few reasons every YouTuber should begin a podcast.
- You want to show up everywhere, right? So you want to show up in the podcast directories and when you show up, you want to have more content than other people.
- A lot of consumers don't do YouTube videos, surprised?
- People don't always have time to watch a video. But they do listen to podcasts.
Podcasts are lower on bandwidth. It's easier on their data plans and you can generally do something else while you're listening to a podcast.
They listen when they are commuting on the train. You can do the dishes, wash your car, go for a walk, you can't be on the move with YouTube videos the way you can with a podcast. Podcasts are a great way to show up for a segment of your audience that you’re not connecting with.
When YouTubers Should NOT Podcast
Still struggling to publish YouTube videos consistently?
Don’t start a podcast, it's really important for you to go deep and become consistent with one publishing method first.
Nail down YouTube then come back and let’s get your podcast going, you gotta stay in the game and getting overwhelmed will force you out!
Once you’ve habituated the process of making YouTube videos, once it's super easy, now you can branch out to podcasts.
The 3- Free Programs You Are Going To Need
You are going to take your existing YouTube videos and turn them into podcasts. For each step you are going to need a specific tool. Here are the three that you need.
4K Video Downloader
4K Video Down is a free tool that will allow you to copy any Youtube link and turn it into a workable audio file with only one button. It has a slew of other features as well and is an effective tool for your toolbelt.
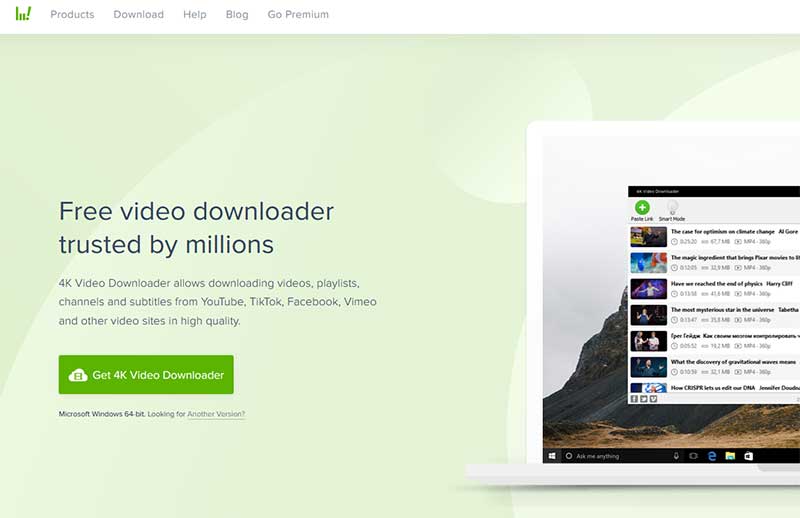
Here is where to download it:
https://www.4kdownload.com/products/product-videodownloader
Audacity
Audacity is an open-source multiplatform sound editor. Which means that you can use it for almost any type of audio file imaginable. It is straightford to use and gives you the ability to create a multitrack audio file. It just might be the only sound editor you ever use.
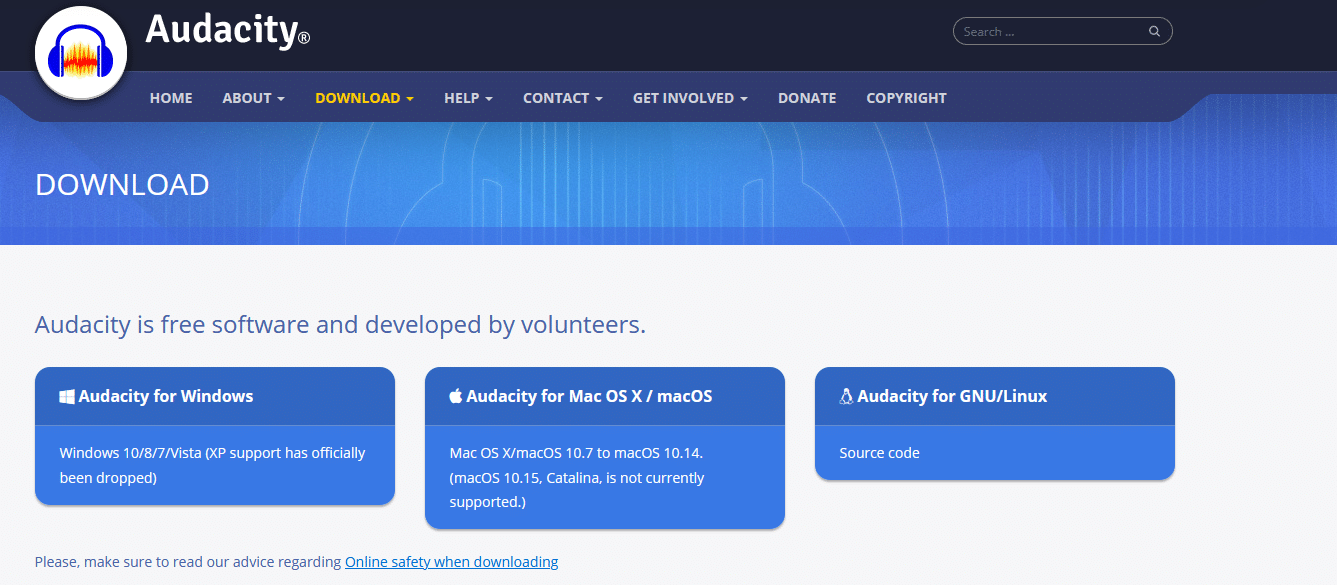
https://www.audacityteam.org/download/
MP3tag
MP3tag is a free program that will allow you to place track information in your audio file so when your audience listens to your product they will get all the auxiliary information you want them to have.
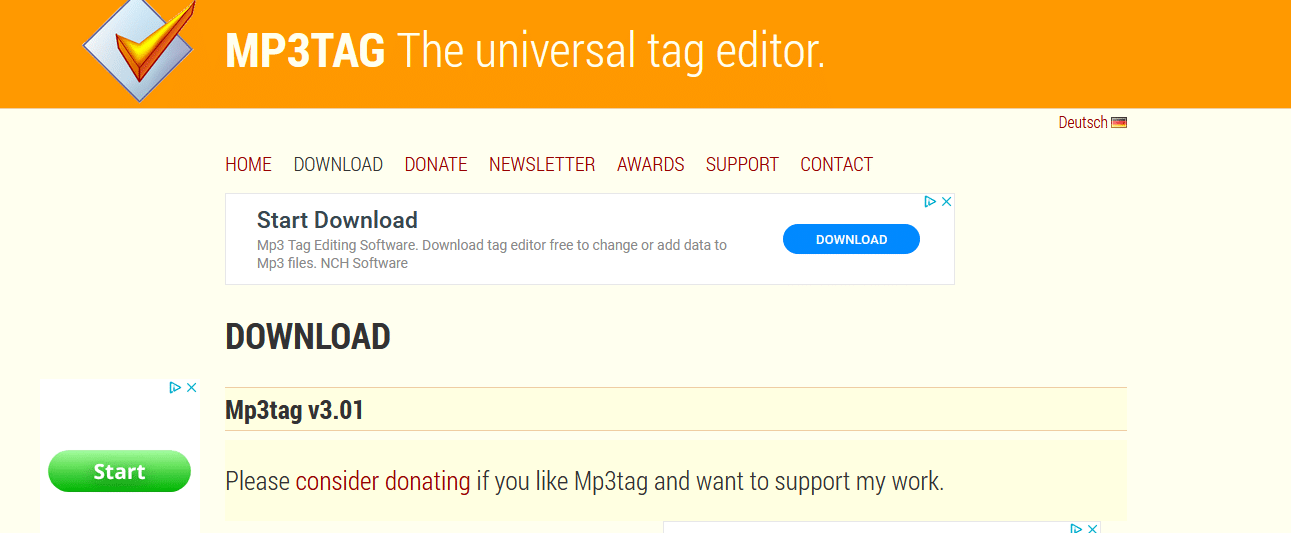
Here is where to download it:
https://www.mp3tag.de/en/download.html
How To Make A Podcast Episode From Your YOUTUBE Videos
Now that you have all your tools in your toolbelt it is time to get down to business. You are going to start with your own YouTube video and follow these steps.
This is a YouTube video that we are going to use as an example.
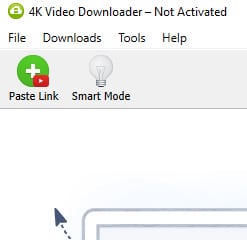
First, you want to have 4K Video Downloader and Audacity open on your desktop.
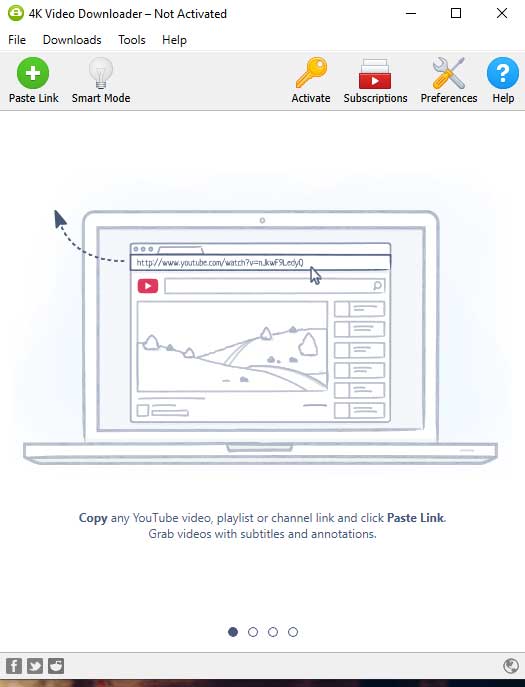
Then you pull up your Youtube video. Highlight the URL in your address bar and copy it. Once you have it copied you will go to 4K Video downloader and click on the “Paste Link” button, which will now have a little red YouTube icon on it.
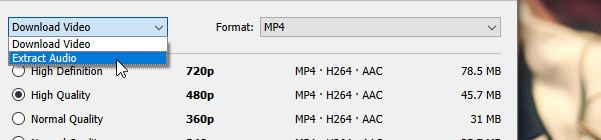
Now you will have a box open called “download clip” with your YouTube video in it. Right below your video will be a button labeled “Download Video”. Click on that button to open it and you will see the option “Extract Audio”. Select that option. Next to that button will be the format option for your audio. Make sure it is set to “MP3”.
Next, go down and click the “Extract” button.
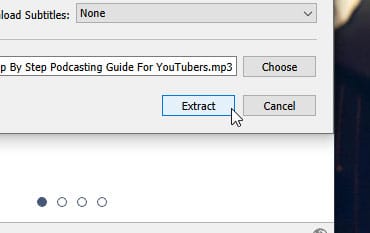
A pop-up progress bar will appear and once that is done, your audio has been extracted from your video in the MP3 format. Next move over to the “three dots” menu symbol and click on that to open the menu toolbar.
In the drop down menu will be an option called “Show in Folder” which will open a new window with your audio file in it. You will see your audio file, now drag and drop the file into Audacity.
Congratulations, you now have the whole YouTube video downloaded as an easy to listen to MP3.
Take this opportunity to save your project in Audacity. You are going to have to work with this audio file a few times. You should be saving it and renaming it as you go, so it will be easier to use.
Create a Podcast Intro And Outro
In your video you probably mention YouTube itself or say something along the lines of “welcome to my video”. This could understandably confuse your listener. They might think “video?, But I’m listening to a podcast.”
Your solution is to create an introduction and outro to your podcast. You can put just a little 10 to 15 second intro. Something along the lines of “Welcome to the podcast. This episode originally aired as a video on my YouTube…”
Super simple, right? It’s just an intro to say “Hey, this is a podcast.” You will also want to add in music to create a professional feeling product.
You can get royalty free audio from freesound.org. There are also many other royalty-free music websites available on the internet.
Then layer your vocals and your music together in your audio editor to make these sound clips. Save those clips and keep them for use on every podcast you make.
Next make an outro, the intro and outro audio should match.
Here’s an idea for your outro, “Thank you for listening to my podcast, this originally aired as a YouTube clip and you can find more podcasts at [the service you download to] and you can find me at [your website]”.
Combining To Make Your Podcast
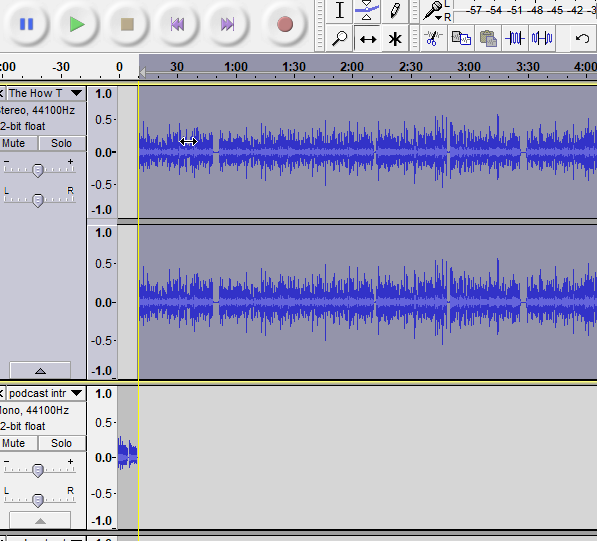
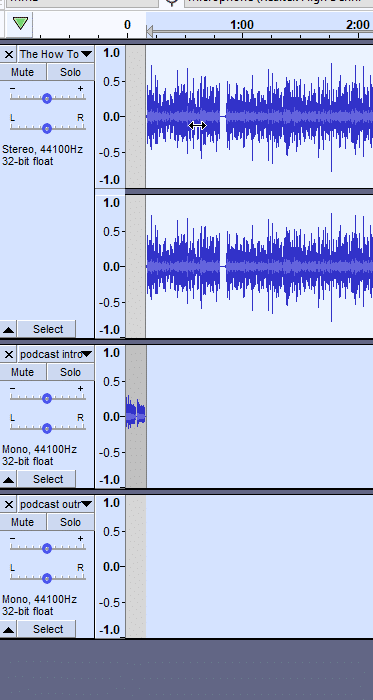
Now that you have all three elements, the MP3; the intro, and the outro. You are going to mix them all together. In Audacity, when you import your additional sound files they will show up below your podcast file as shorter sounds that you can mix in.
You will go to “File” then “Import” then “Audio”. This is where you will find your “intro” and “outro” that you have saved and add them to your podcast.
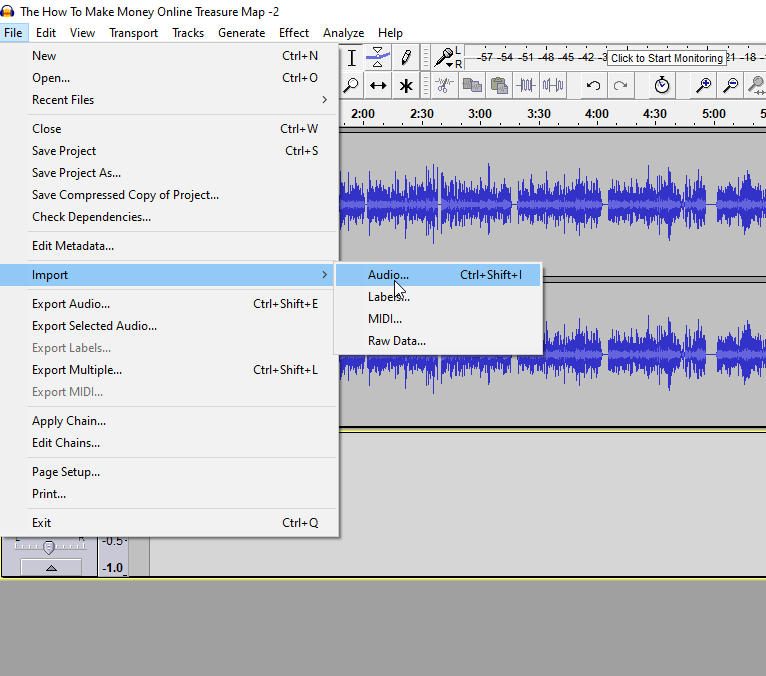
Once you have all three files it should like like this:
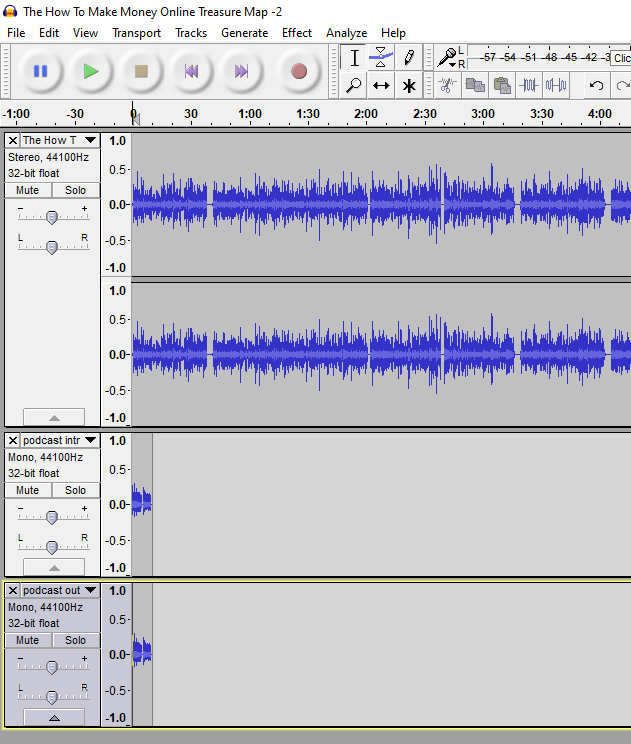
Next, you want to move the sound files around so that all three files play in order. The result will be one audio clip for the consumer that is seamless, that you have made out of three different files.
It sounds complicated but is super simple. After doing it one time you will have it nailed down.
Here’s an older video of mine talking through the process, (some of the tools are no longer relevant, it is now more simple!)
Go to the toolbar and click the “Time Shift Tool”.
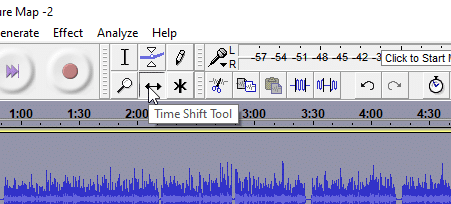
This tool allows you to move the audio tracks back and forth. Grab the main audio track and move it forward, past your “intro” track until a solid yellow line appears. Then let go of the track. Audacity will automatically line up your both of your tracks to make them seamless.
Then use the “Time Shift Tool” to move your “outro” track to the end of your podcast track.
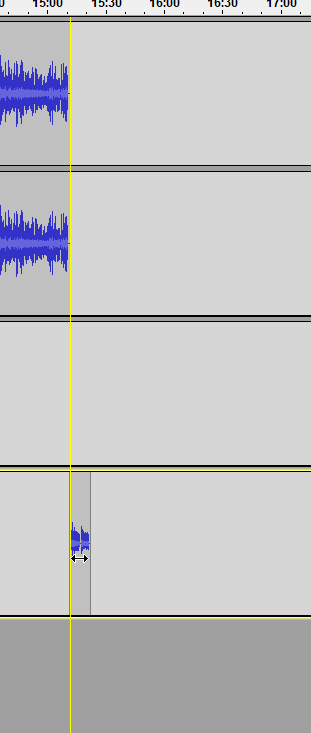
Again, the yellow line will appear, showing you that all the tracks are placed in order and will sound like one professional track for your listeners.
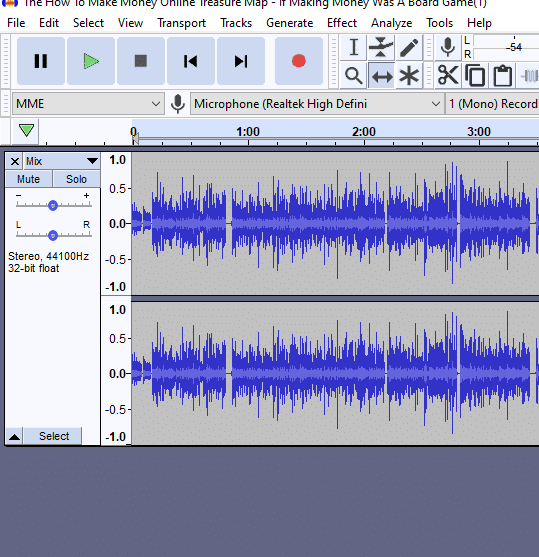
Now you have layered together all of your tracks inside your audio editor. The next thing to do is actually make them into one track.
Mix And Render To Track
To do this you will first need to highlight all three tracks. The audio, the intro and the outro.
Once all three tracks are highlighted go to the toolbar. Go to “Tracks” then “Mix”. Lastly, “Mix and Render to Track”.

That will turn all three tracks into one track that you can export.
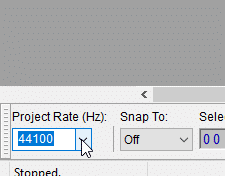
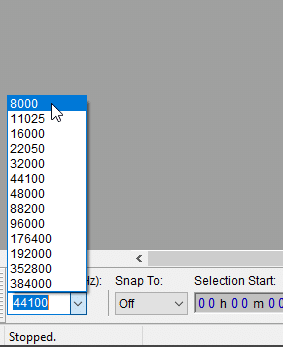
Next, you will see at the bottom of the program it will show your project rate, this is technical but what matters is this is a measure of how large your file will be. So you want to change your project rate to the lowest option to save on bandwidth for both you and your listener/downloader.
Sound Post-Production
You want to normalize the audio to make sure the user experience is a positive one. The users are not going to like adjusting their volume multiple times while listening to the same podcast.
To normalize the audio first make sure you have your project highlighted. Then go to the toolbar and click on “Effect” then down to “Normalize”. Once you select it, a pop up box will appear. Use the default setting and select “ok”. A new pop up box will appear showing the progress.
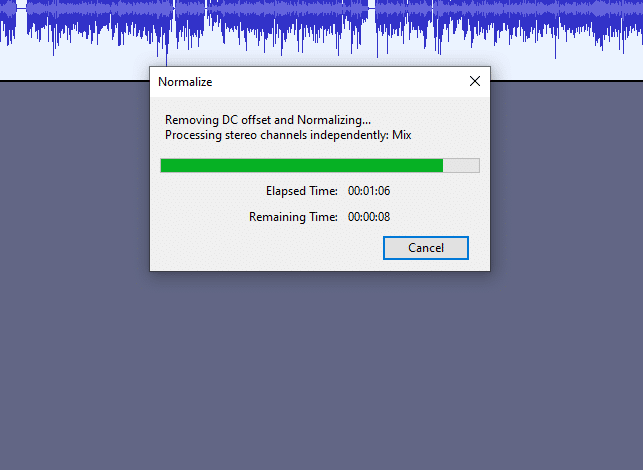
When the process is finished you will have your new, normalized media file. It’s made the peaks and valleys all nice and neat. It’s really a good way to go about running your audio to make sure your user experience is great.
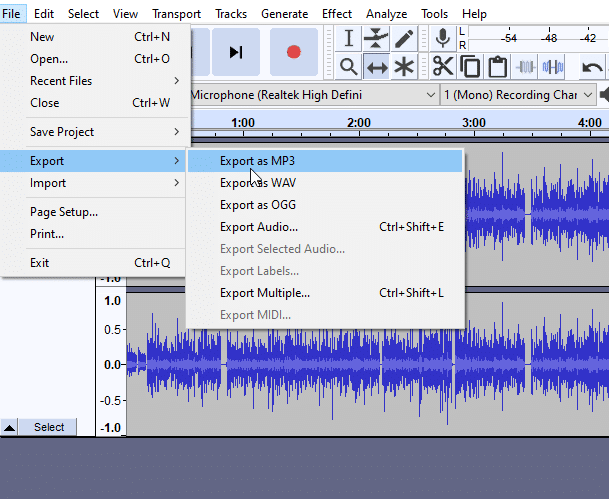
Export as MP3
Next you're going to “Export” your file. This will let you save the file format. (“Saving” in Audacity only saves the project for use in Audacity. To use it in another program you have to Export.) At this time you should also change the file name to the final name you want to use.
Go to the toolbar and select “File” then “Export” then “Export to MP3”
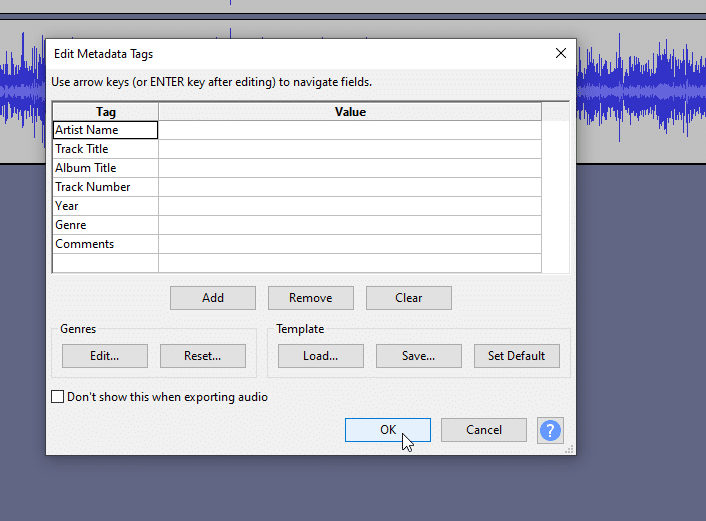
There will be a pop up “Edit Metadata Tags”, you are going to leave it blank for now because you will be filling it out in the next step. Select “ok”.
The reason you will leave it blank is that Audacity doesn’t allow you to add images. So you will need another tool to add image metadata, that is when you will fill out all the metadata.
Adding Tags; Creating Great User Experiences
You now have a finished product, as far as audio. The last thing you want to add are called tags. The next tool you use, and this is the last tool, is MP3tag.
You are going to add a title, artists, and an image. That way, when it's playing on the user's phone, it looks normal.
It's got a nice big image that you control. It's got the title that you want on it and that's all metadata that you’re feeding into the podcast. All that information is going to live on the audio file. All that info makes for a great user experience.
When you open MP3tag you will choose the directory where you have saved your audio file.
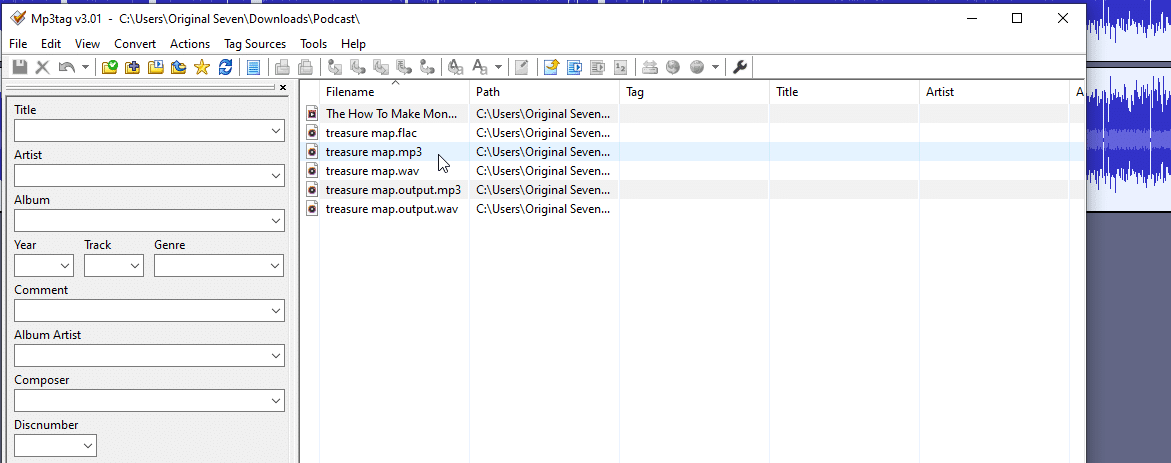
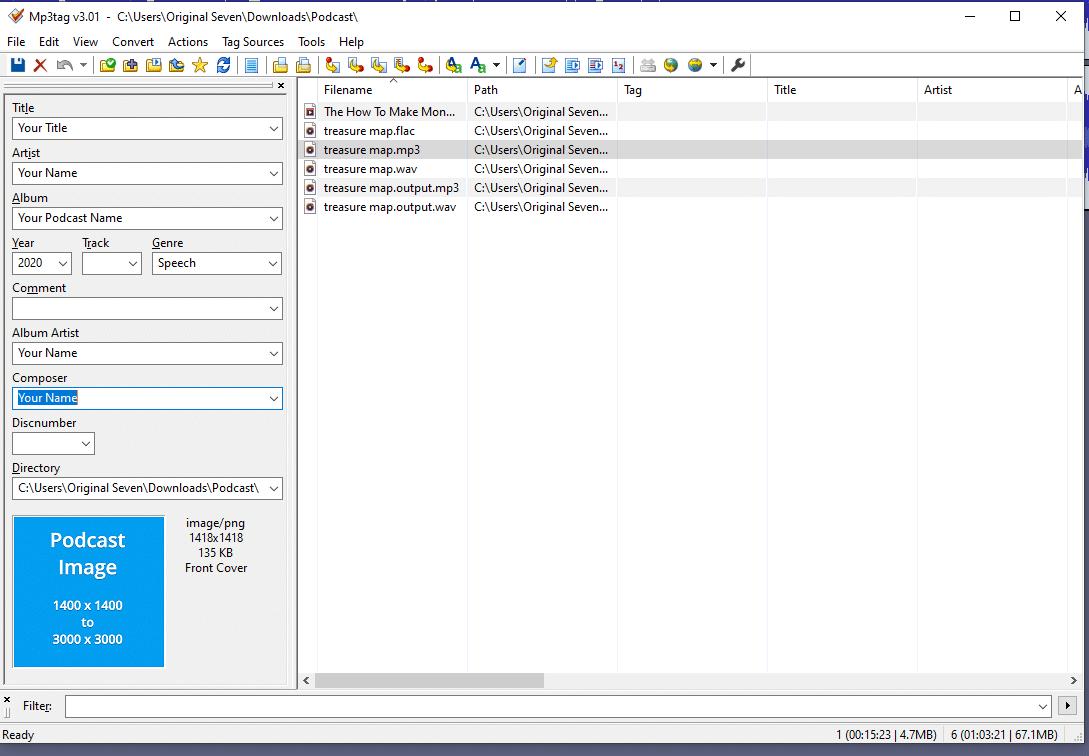
Select the normalized track that is now listed as an [your final name.mp3]. Go through and add the title, artist, etc. Set the “Genre” to “Speech”.
If you've ever downloaded an audio file to your phone and it doesn’t have this information then it's just that default screen. And it's likely “untitled” by “untitled”. Then you might lose it when you're categorizing. That's because they didn't do this. You are solving that problem before it happens.
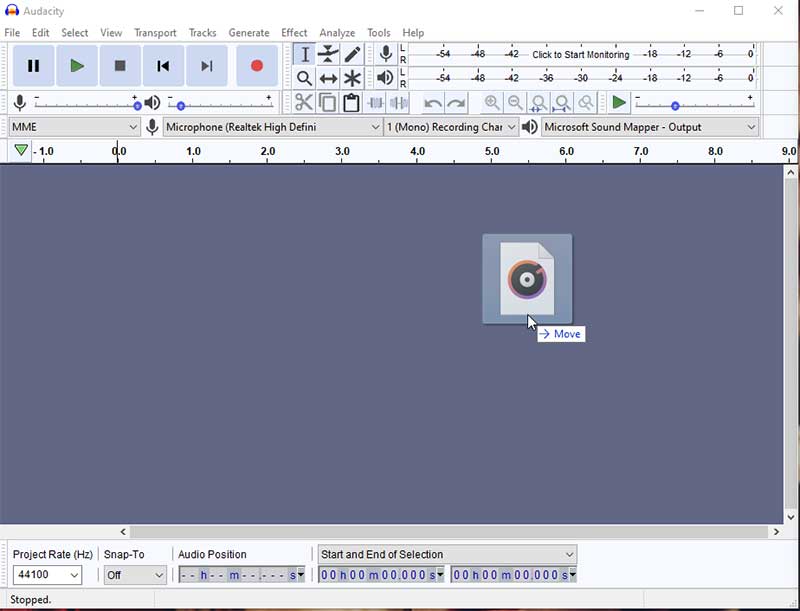
In the bottom corner there is a blank space where you put your image. This is probably the biggest part of making your podcast look professional. To add your image, right click (on a PC) and then choose “add cover”
This is a mock-up cover. It's 3000 pixels by 3000 pixels. Really, it's just a big square. 3000 by 3000 that's the standard iTunes image size for a podcast.
Once you're done with this you can go back to the top and save. Your track will stay where it was but now you see it has all the information you just added.
Congratulations. You now have a YouTube video that you have optimized for podcasts. Go out and publish it on your podcast platforms!